How to Use Hootsuite and Easily Manage Social Media PostingMay212018

Hootsuite is a posting and scheduling app to manage one or multiple social media profiles, posts and post scheduling. Just add posts, and Hootsuite will auto-process to your selected accounts. Extensions are available to work within Firefox, Chrome, Safari and Opera.
How to Get Started with Hootsuite
1: Create Your Account
Create a Hootsuite account at https://hootsuite.com by clicking 'Sign Up' in the top-right corner.
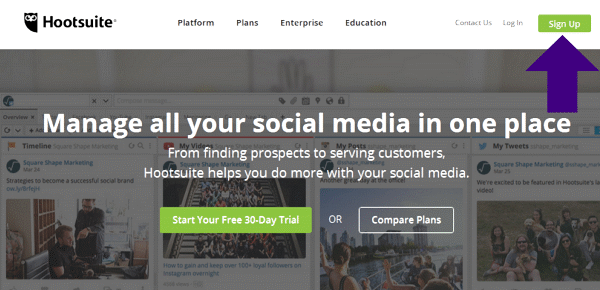
After clicking the Sign Up green button, you’ll be taken to a new page displaying different levels you can subscribe to:
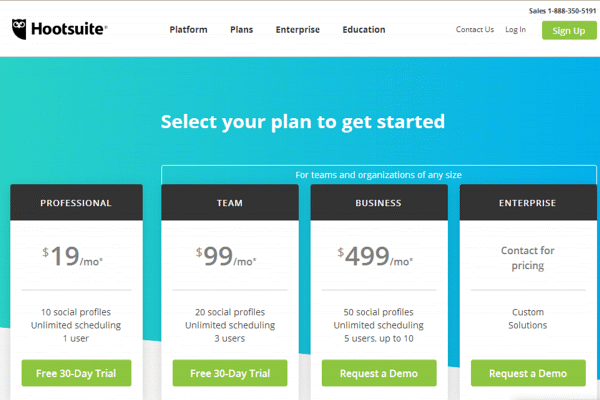
There’s a Free plan that’s not initially visible unless you scroll down the page. The Free option allows you to manage 3 social profiles, 30 Scheduled Messages with 1 user. This plan may be a good option for you to start out with. You can always Upgrade from a Free plan. The other plan options offer unlimited message scheduling, additional social profiles, and a few other perks.
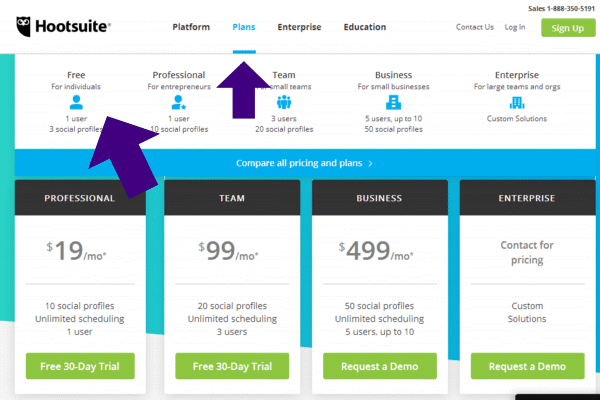
To subscribe to the Free plan, Click the ‘Plans’ option from the Top menu. A dropdown overlay will display all the plans. Click on ‘Free’ for individuals:
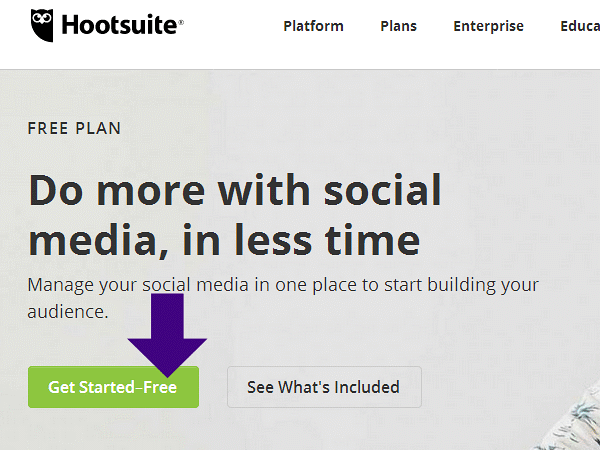
Click on the “Get Started-Free’ green button:
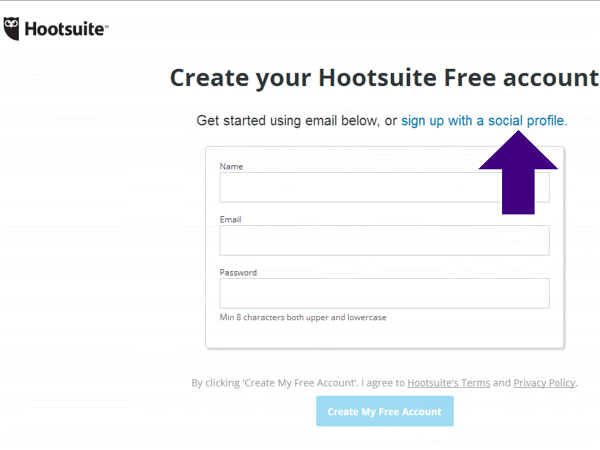
Sign Up using an Email and a Password you create, or Click on ‘sign up with a social profile’:
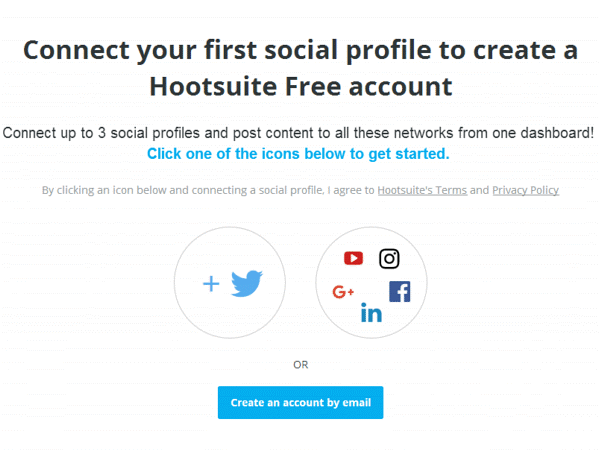
Connect your first social profile to create a Hootsuite Free account:
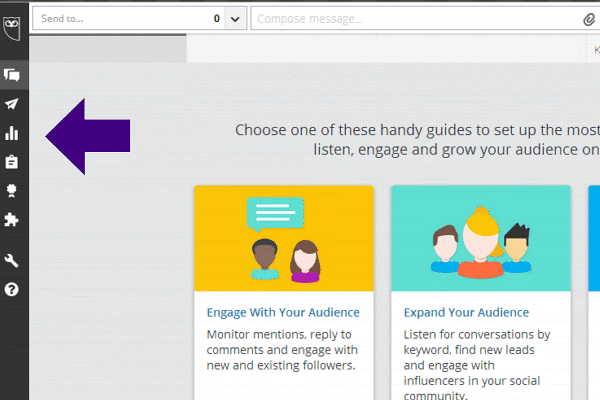
2: Hootsuite Sidebar Menu
Options are located in the black sidebar menu on the left-hand side of the Dashboard:
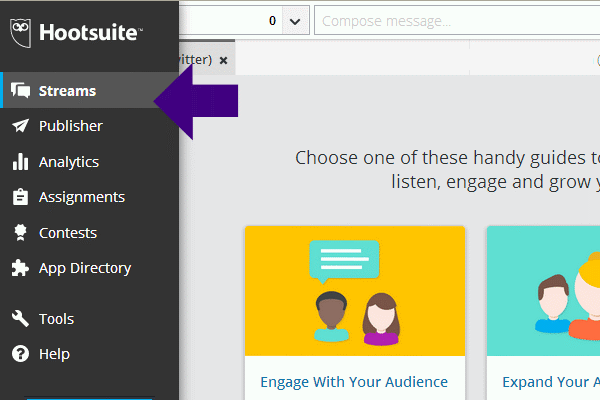
Hovering over the icons in the black side menu will open up your selections:
3: Configure Your Profile and Account Settings
In the Top Right Corner of screen, Click on your Profile Circle.
Select 'Account & Settings' from the dropdown.
Here you can:
- Update your profile with a photo or Gravatar.
- Set Name and Auto initial when composing messages.
- Enter a Bio.
- Assign a Time Zone.
- Enter Social Media URL's.
- Change Email.
- Change Password.
- Remove/Cancel Hootsuite Account.
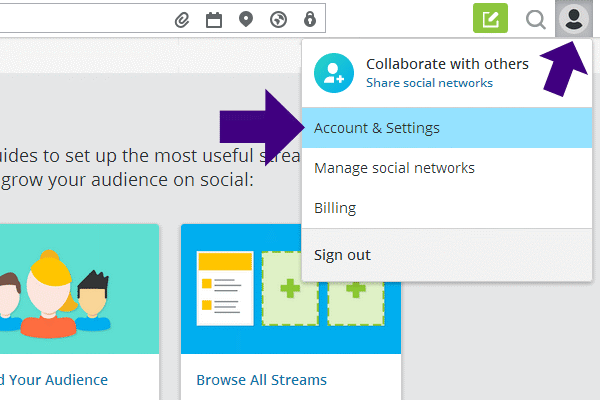
On the Left side you'll see a side menu displaying:
Account
Preferences
RSS/Atom
Vanity URLs
Notifications
AutoSchedule
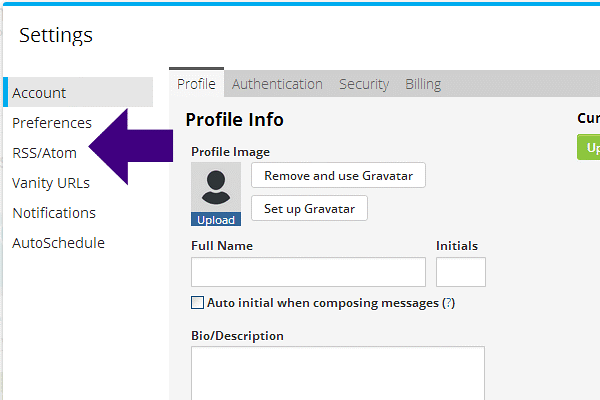
Preferences:
From here you can:
- Set Language
- Clear Cached Messages
- Check boxes to Use Twitter Web Retweets, and/or Hide Promoted Tweets
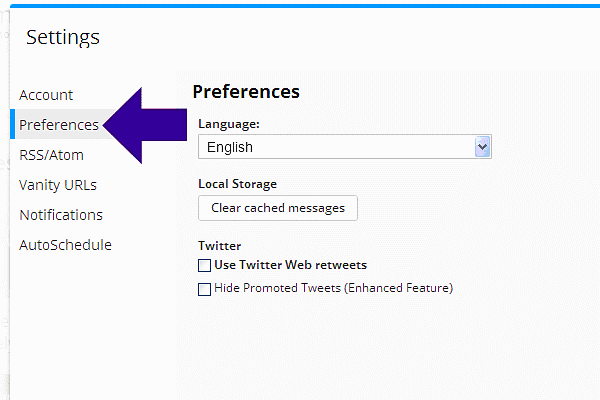
RSS/Atom:
If you have an RSS Feed, you can add it to all your social network profiles here.
Click on the + icon to Add a Feed.
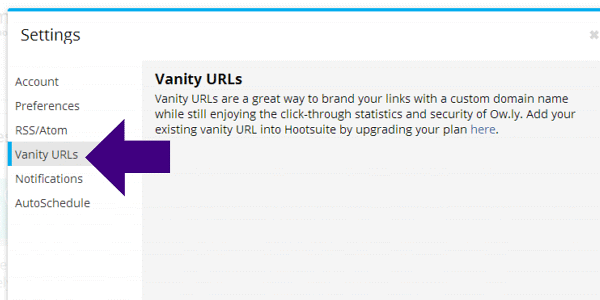
Vanity URLs:
A Vanity URL can be used to Brand your links with a custom domain name.
Upgraded Plan is required to use a vanity URL.
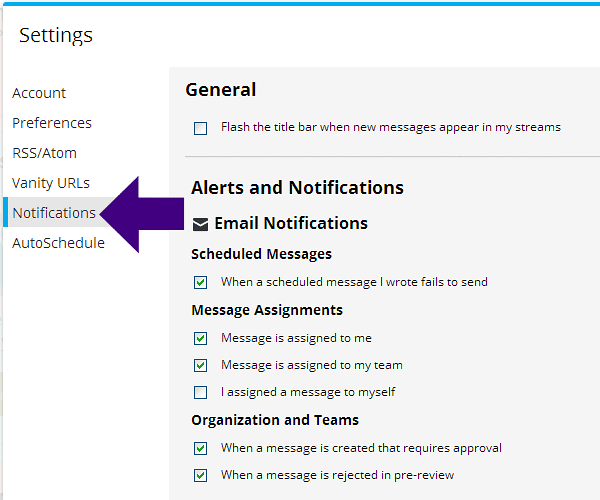
Notifications:
Set alerts and notifications for when you receive an Email.
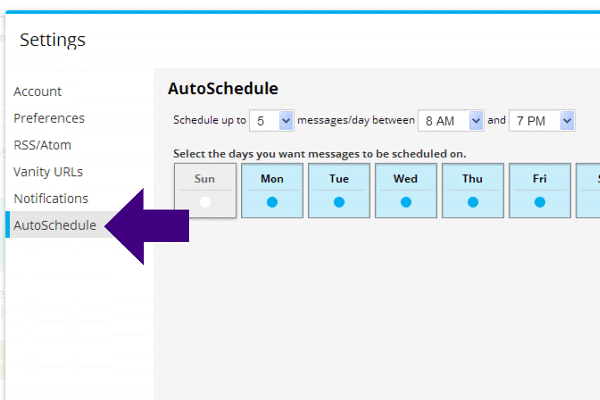
AutoSchedule:
Schedule messages time and day of week.
4: Add Social Networks
Click your Profile Circle in the Top Right corner of the Dashboard.
Select ‘Manage social networks' from the dropdown.
Scroll down the page, and in the Left Bottom area of the dashboard.
Click add ‘ + Private Network’.
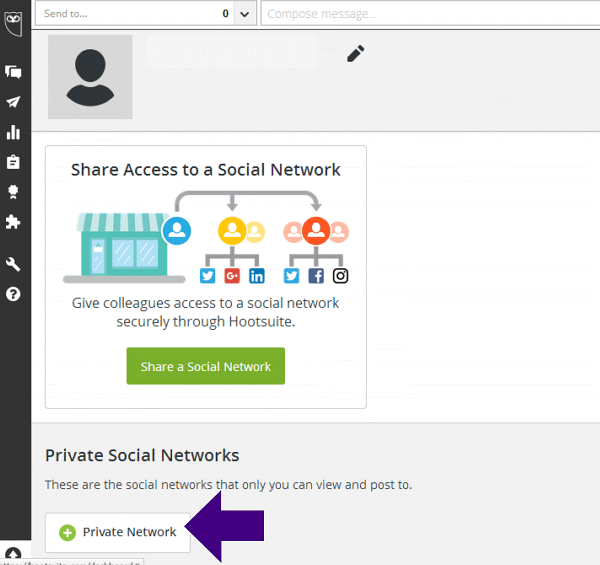
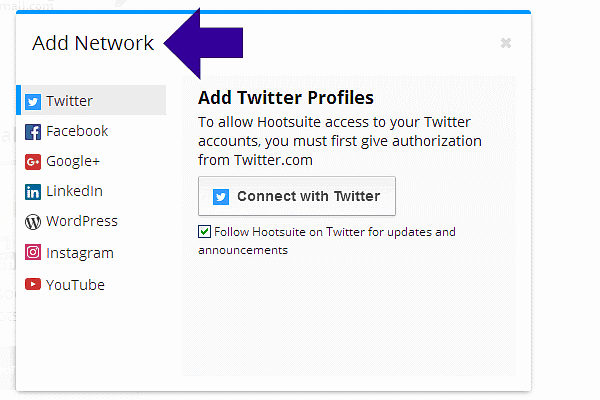
Click on the social network you want to add from the list, and then Click ‘Connect’ with (specific social network):
You’ll be choosing from:
- Google+
- WordPress
- YouTube
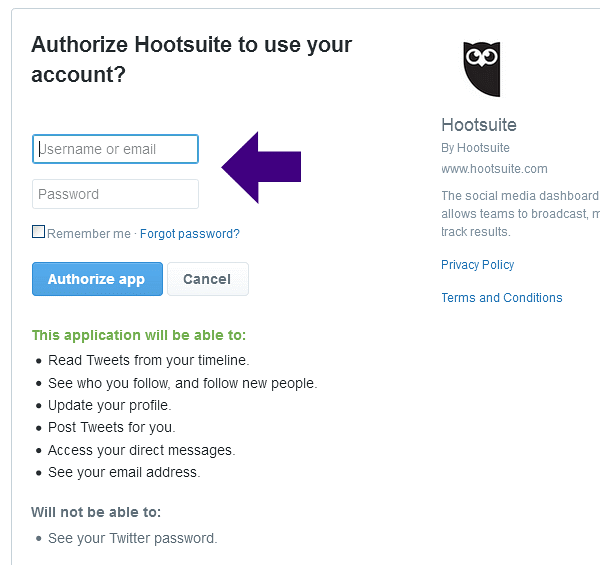
Enter user name / email and password, then Click ‘Authorize App’.
Repeat this process for all social media networks you wish to add.
Hootsuite Help for How to Add a Social Network:
https://help.hootsuite.com/hc/en-us/articles/204585410-Add-a-social-network
5: Publish Messages
You can regularly publish messages to engage your audience and save time by scheduling a single message to multiple social networks at once.
Select the profiles that will post the message from the Social Profile Picker, located in the Top Left.
Click ‘Compose Message’, then enter your message in the compose box, and then Click ‘Send Now’.
To the Right of the black sidebar menu - Click the ‘Down Arrow’:
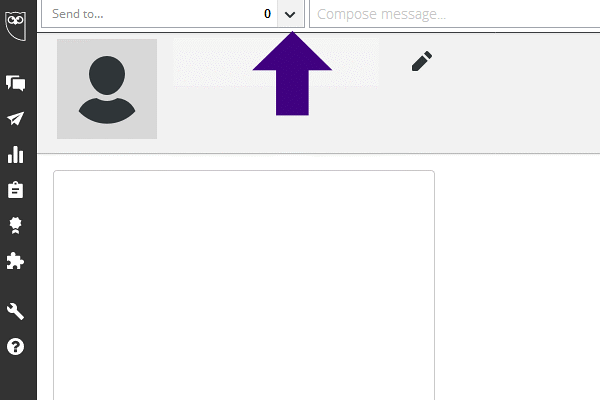
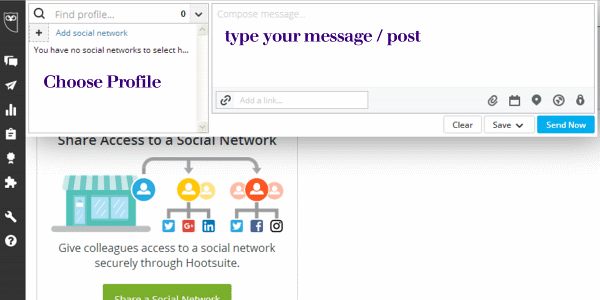
A dropdown overlay will appear for you to:
- Select Profile
- Add a Social Network, if you want to
- Compose Message
When you include a URL Link with your message/post, when you click ‘Shrink’ your long URL will be shortened:
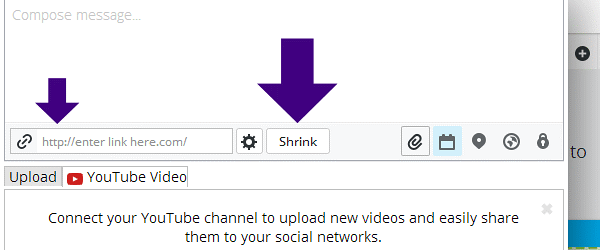
Send and Schedule Icons
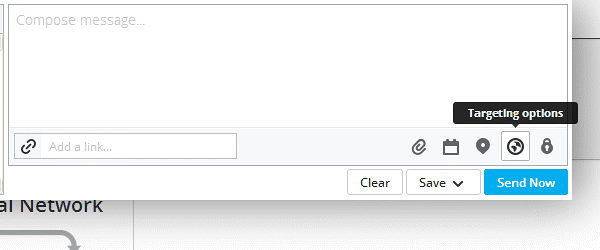
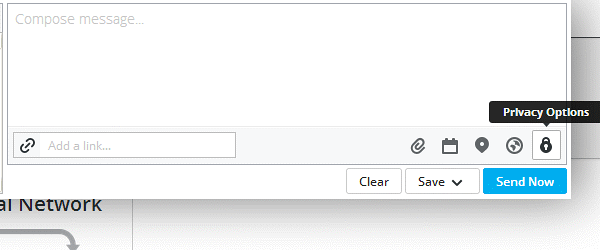
In the Compose Message area, you may:
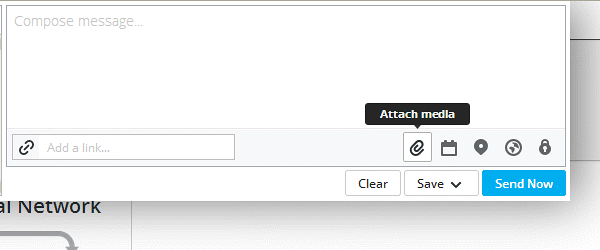
Attach Media (photos, images) or select your YouTube channel to upload a file:
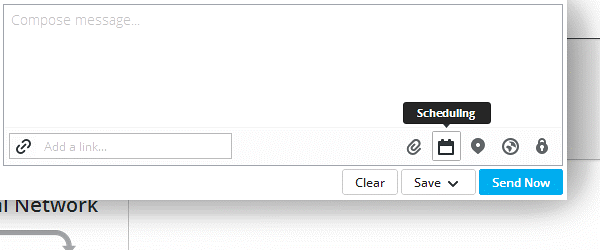
Schedule Messages
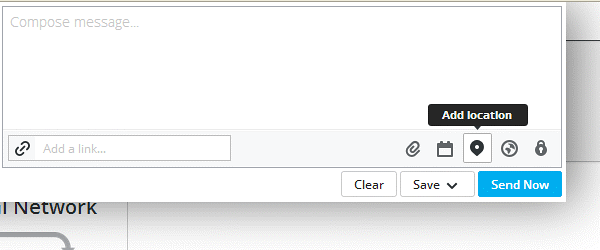
Add a Location
Targeting Options
Privacy Options
Hootsuite Help for Publishing Messages:
https://help.hootsuite.com/hc/en-us/articles/204586020-Publish-messages
Hootsuite Help for Scheduling Messages
https://help.hootsuite.com/hc/en-us/articles/204586040-Schedule-messages
6: Set Up Tabs and Streams
After adding social networks to your Dashboard, you may want to set up Streams. For each of the social network you’ve connected you can monitor conversations and engage with customers with Streams. Each social network offers unique stream types.
Search Streams are very useful for finding social activity for specific users, locations, or keywords.
Use Tabs to organize your streams into groups.
Click on ‘Streams’ from the Left black sidebar Menu.
Click ‘Add Tab’ located near the Top Left corner, assign a name, and then Click ‘Enter’.
Inside each tab, Click ‘Add Stream’.
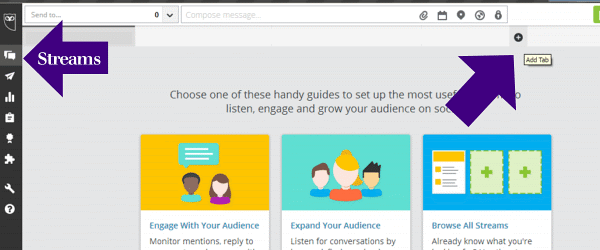
Select a social network from the list on the Left, then choose a profile from the drop-down list.
Click the streams you want to Add for that profile.
Customized Streams
A powerful Streams option is to customize to what you want to be made aware of by monitoring tweets for your URL, your Brand, Individual users and also specific Hashtags. Use to connect with your industry and monitor competitor presence.
Hootsuite Help for Streams:
https://help.hootsuite.com/hc/en-us/articles/204585760-Add-streams
Hootsuite Help for Search Streams:
https://help.hootsuite.com/hc/en-us/articles/204585750-Add-rename-move-or-delete-tabs
Hootsuite Help for Tabs:
https://help.hootsuite.com/hc/en-us/articles/204585750-Add-rename-move-or-delete-tabs
7: Install Apps
The Hootsuite App Directory is a collection of extensions and applications that be added to your Hootsuite Dashboard to create a customized experience.
To install an App:
Select ‘App Directory’ from the sidebar black menu:
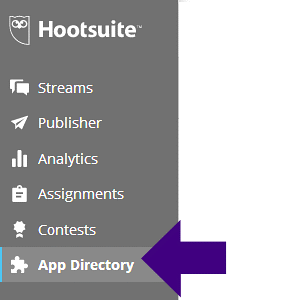
Filter Apps by Type, or browse through the Free, Premium, New or Featured sections:
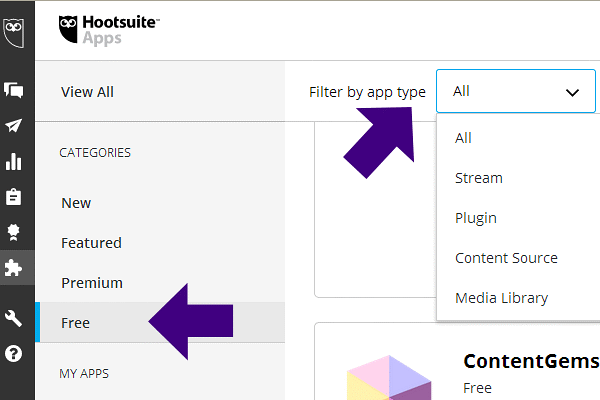
Beside the App you select, Click ‘Install App’:
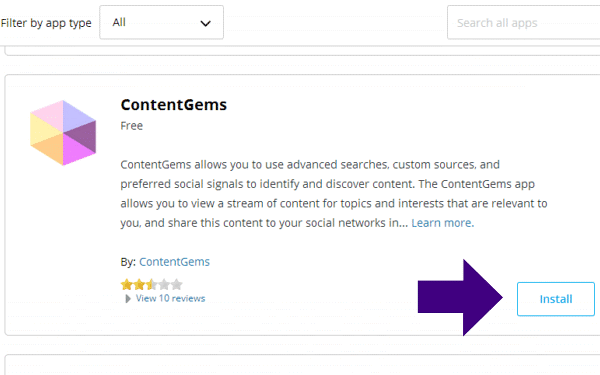
Then Click ‘Finish’.
Connect WordPress to Hootsuite
If you use WordPress you can connect it to Hootsuite. Update your Blog from the same place you post to your social networks.
Add a Blog hosted on WordPress.com as a social network, and add a self-hosted blog (WordPress.org) through the App Directory.
Hootsuite WordPress Help:
https://help.hootsuite.com/hc/en-us/articles/115009689728-Add-a-WordPress-blog
Additional Hootsuite Information and Help:
Free Course to learn how to get the most from your Dashboard - the ‘Hootsuite Platform Training’: https://education.hootsuite.com/courses/platform-education-2018
Overview of Free and Paid Hootsuite plans:
https://hootsuite.com/plans/upgrade#
Hootsuite Help Center:
https://hootsuite.com/help#
Hootsuite Attaching Images Help:
https://help.hootsuite.com/hc/en-us/articles/204586000-Attach-images-to-messages
Hootsuite Apps Directory:
http://apps.hootsuite.com/
Analytics and Reports Overview:
https://hootsuite.com/pages/analytics#
Hootsuite Mobile App:
https://hootsuite.com/products/mobile-apps#


