Basic Gutenberg TutorialFeb202019

If you have updated your Wordpress site to the new Wordpress 5.0, you will notice that the classic content editor has been replaced with a new editor called Gutenberg. This new block style editor is a little different from the classic content editor and takes just a little getting used to. But once you grasp the hang of it, Gutenberg is easy to use and has some nice features to enhance your website.
In this tutorial, we will give you some basic steps to the new Wordpress block editor and show you how this new editor can help you visually create posts and pages.
What is the Difference Between Gutenberg and the Classic Editor?
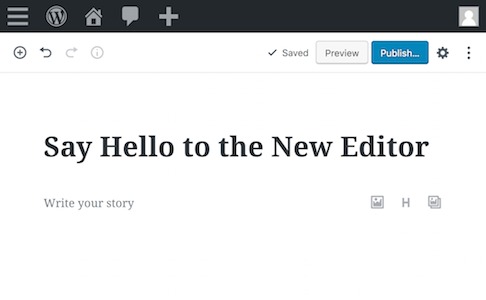
The first thing you will notice about the new editor is that it looks nothing like the old editor. The text editor had only one bar of tools with familiar looking formatting buttons similar to Microsoft Word, but the new editor uses a block system while still allowing you to use those kinds of tools.
You can add blocks for paragraphs, images, layout elements, shortcodes, and more. Each block is a piece of content that is used to build your page or post.
How to Add a Block
After you create a new post or page (this has not changed), you will need to begin adding blocks. The first block of every post is the title. Then just hit Tab on your keyboard or move your mouse below the title and start typing. This first block under the title is always a paragraph block.
If you want to add a different type of block (image, table, etc), just click on the add new block button and the block menu will pop up. Here you can quickly search for the type of block you want or browse through the categories to find the one you want to add next.
Block Settings
After you choose the block you want, you will see a settings box on the right side bar. When you're on a paragraph block, you will see basic settings like text alignment and formatting options like bold and italics. Different block types give you different options in the sidebar.
Manipulating Blocks
Once you set a block in place, it can always be moved, deleted or duplicated.
To move a block, simply drag and drop using the buttons on the left side of the block. You can also use the arrows to move a block up or down.
Click on the menu button located at the right corner of each block to have other options such as duplicating your block, creating a reuseable block or removing it altogether.
Keep Going
Now that you can insert and move a block, keep going! Add blocks for images, videos, lists, etc. Before you know it, you will have a new page that looks stunning!
Here are a few other tutorials that you might want to check out:
Wordpress.org: Gutenberg Handbook
https://wordpress.org/gutenberg/handbook/
Gutenberg Hub: Best of Gutenberg WordPress Editor blocks, resources & tutorials
https://gutenberghub.com/category/gutenberg-resources/gutenberg-user-tutorials/
WordPress 5.0 Finally Released: Meet Gutenberg
https://motopress.com/blog/wordpress-gutenberg-editor/


