WordPress Plugin: Testimonial RotatorJun172020
Add trust and credibility to your website’s products and services with this customizable rotating Testimonial Plugin that displays reviews, comments, testimonials, images, and photos.
Testimonial Rotator
https://wordpress.org/plugins/testimonial-rotator/
Active installations: 60,000+
Requires WordPress Version: 5.0 or higher
Cost: Free and Pro
Features Include:
- Change all rotator settings in the Admin dashboard area
- Add testimonials to multiple rotators
- Prev/Next Buttons
- Vertical Align Testimonials based on Height
- Star Ratings
- Author information field
- Testimonial single template
- Ability to make custom templates
- Pagination in List Format
- Ability to show the Add Rotator section based on User Role
- Settings section
- New hooks and filters
View a Demo of this Plugin within the different format themes available to choose from.
Help, instruction videos, and screenshots are available on the download webpage.
Installation
Install from your WordPress Admin area, and Activate.
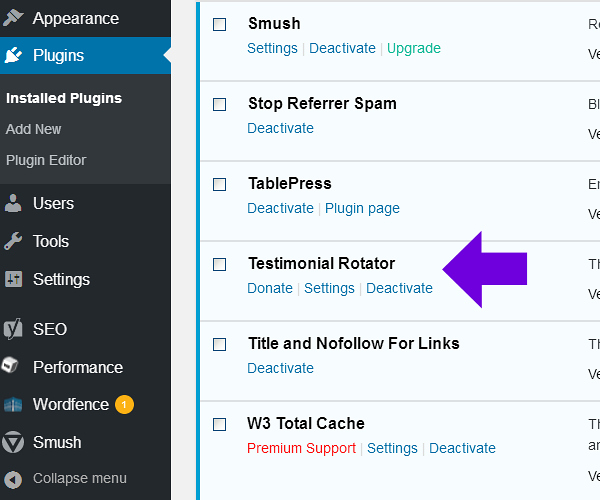
Click into Plugins > New Plugins.
Locate Testimonial Rotator, and Click “Settings”.
This settings page lets you decide how errors are handled, who sees the Rotator menu, change the archive ‘slug’ and enter custom css.
Configure Display and Behavior
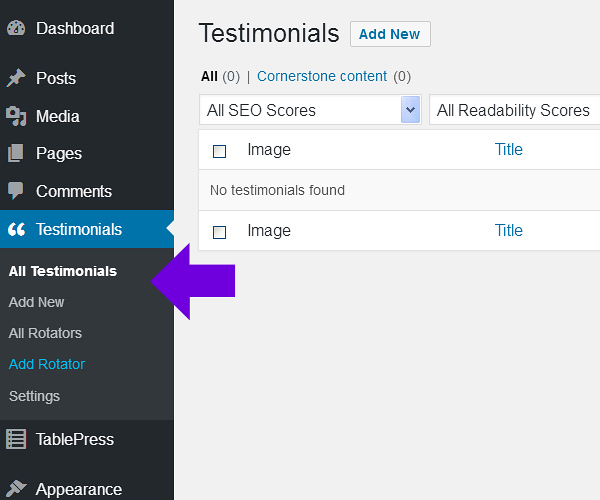
When finished in the Settings area, locate “Testimonials in the Left navigational column, then Click “Add Rotator”.
Here, you’ll choose how you want your testimonials carousel to display and behave. You’ll set the theme, animation, show/hide items, duration, and more.
You’ll enter the company or product these testimonials are associated with – this information is not displayed but rather adds rich snippets for search engines.
When finished, Click “Publish”, blue button located page top Right.
Add a Testimonial:
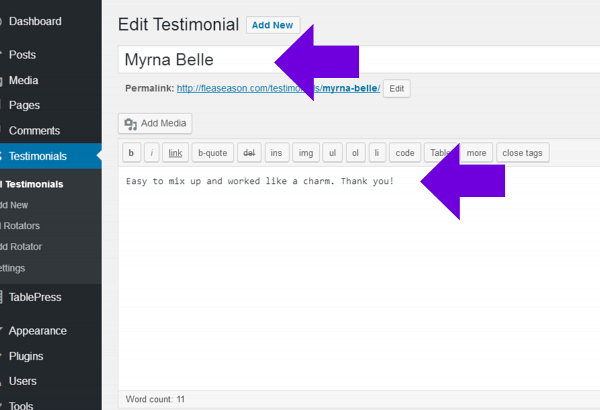
Locate “Testimonials in the Left navigational column, then Click “Add New”.
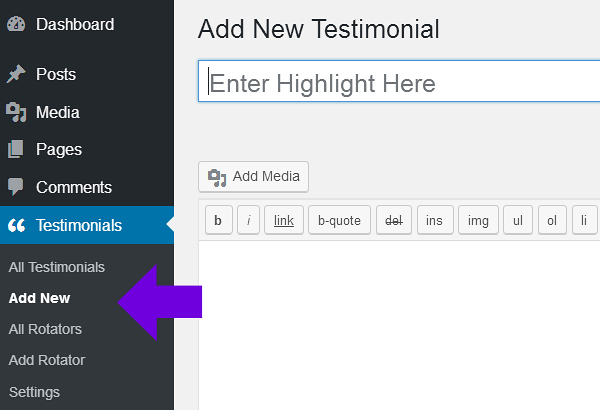
Enter the Name of the person giving the Testimonial.
Enter their Testimonial text in the post editor area:
Scroll down to the “Testimonials Options” section where you can designate a star rating (or not), enter a title or company name and/or enter a photo:

When finished, Click “Publish”.
Repeat this process to add more Testimonials to the rotator testimonial carousel.
You can set up multiple Rotators to use for different products or sections of your website.
Just open “Testimonials > Add Rotator and repeat the above process.
Add the Carousel to Your Site
To Add the carousel to your site, locate “Testimonials in the Left navigation column, Click “All Rotators”:
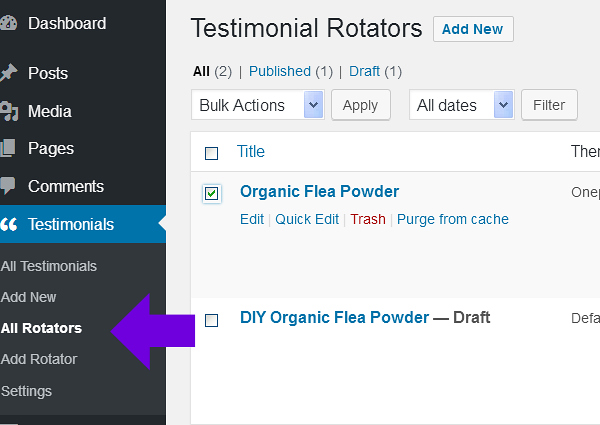
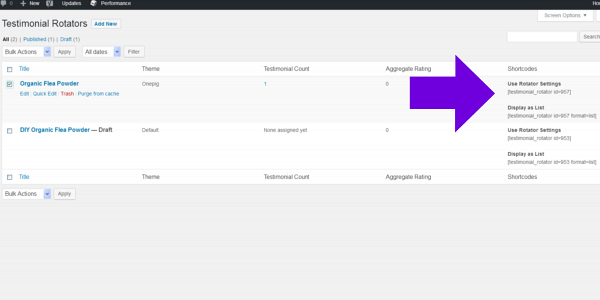
Select the Rotator you want to work with. The dedicated shortcode for each rotator will be listed to the far Right:
Shortcode enlargement - the shortcode for this one is: [testimonial_rotator id=957]
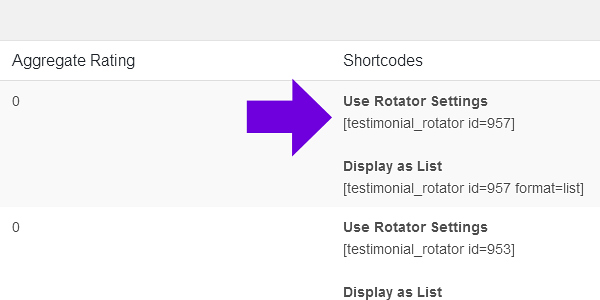
Copy and paste the shortcode, and place it anywhere on a page (via post editor) you want it to appear.
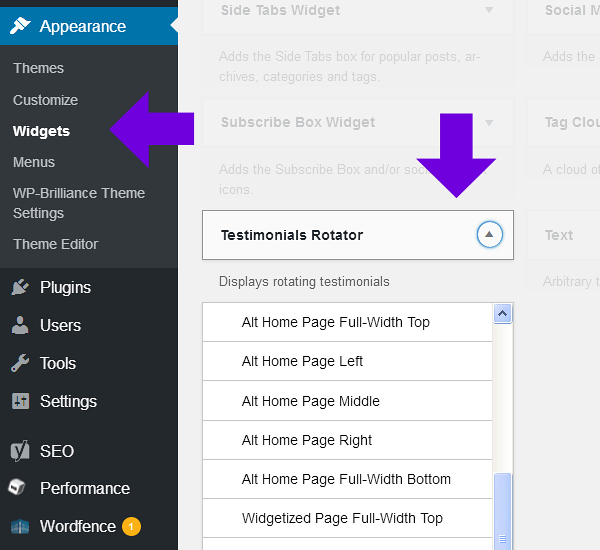
You can also copy and paste into a widget. To do this, go into: Appearance > Widgets, locate the Testimonial Rotator Widget, then add to your chosen Widget location:
Author Help Guide - includes getting started information, setting visuals, and definitions.
Want to incorporate Testimonials on your website?
Does all of this seem too involved?
Reach out to your web specialist and ask them to install and configure this Plugin for you. Send them your customer/client info, comments and photos so you can start building trust and credibility on your site today.
Return


