WordPress Plugin: Blog2SocialSep112018

Worth looking at is the Blog2Social Wordpress plugin that allows you to customize, auto-post, schedule and share social media posts within the Admin panel. Available in both Free and Premium options.
Features Include:
- Automatically turns your Blog post into the right format for each social media channel.
- Auto-posts at the best times for each social media channel.
- Streamlines the manual task of sharing Blog content on each individual social media channel.
Refresher Tips for Social Media Posting
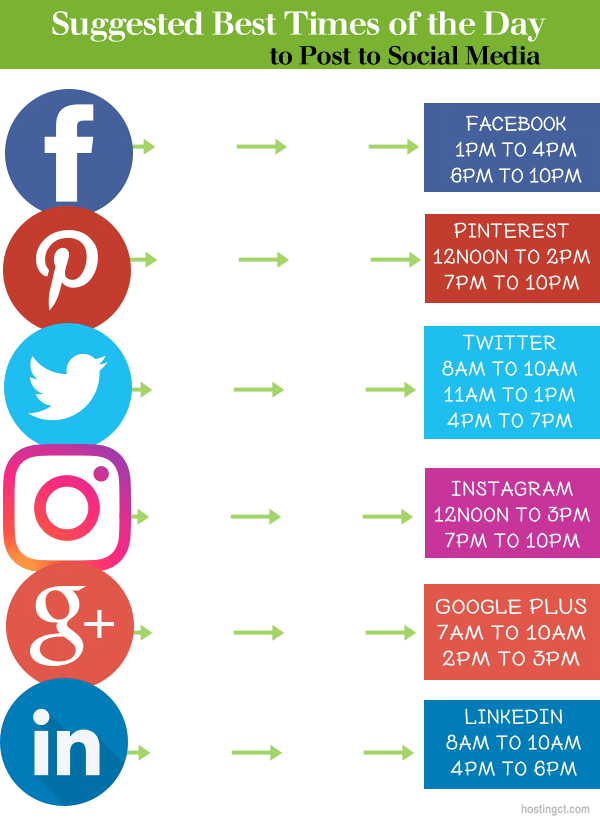
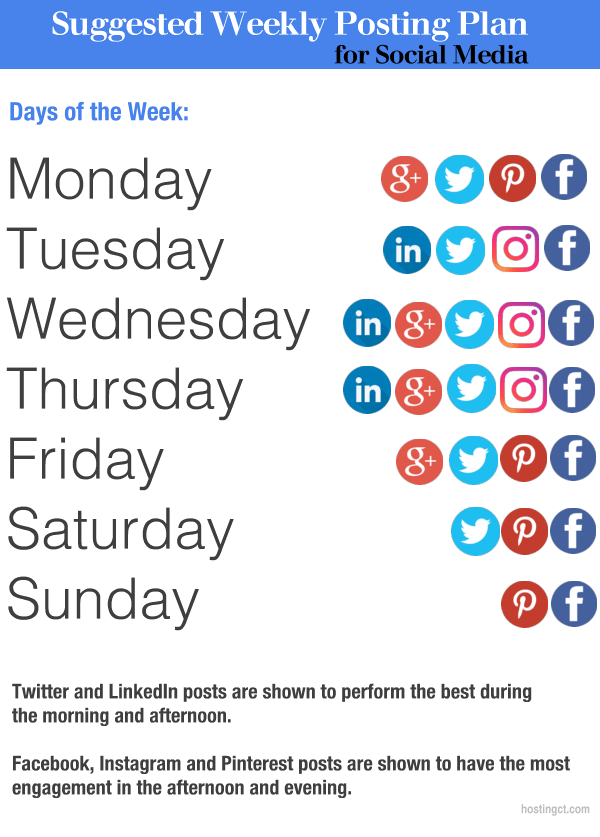
Recommended Social Media Daily Posts:
Facebook:
Two posts per day.
Twitter:
Three posts per day.
Instagram:
One post per day.
Google+:
Three posts per day.
Pinterest:
Five pins per day.
LinkedIn:
One post per day.
note: With all posts include images, photos and videos as often as possible.
The Plugin:
Blog2Social
https://wordpress.org/plugins/blog2social/

Requires: WP 4.2.2 or higher
Downloads: 20,000+
Cost: Free and Premium versions
Features Include:
- Connect all your social media profiles.
- Share Blog posts across all selected networks.
- Customize posts and add comments, tags, #Hashtags, handles, or emojis for each social network.
- Manage all Blog posts and share the Blog posts of all users of your Blog (administrator rights required).
- Select and share images with your posts.
- Keep track of your social media posts within the posting dashboard.
- Re-share old posts.
- Automatically generate #Hashtags from your Wordpress tags.
- Use the integrated Bitly shortener to track performance of your links.
Free Version Posts to:
- Google+
- Flickr
- Medium
- Tumbler
- Torial
- Diigo
- Bloglovin
Compare Free and Paid features of the Blog2Social plugin, https://www.blog2social.com/en/pricing/
How to Use Blog2Social in WordPress
Sign into the Admin area of Wordpress.
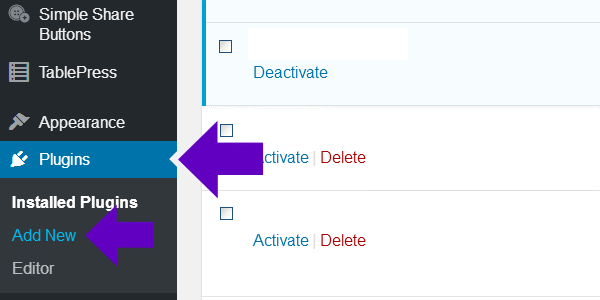
In the Left column locate the “Plugins” area, Click “Add New”:
In the Search box, upper Right, type in “Blog2Social.
Install the plugin, and activate.
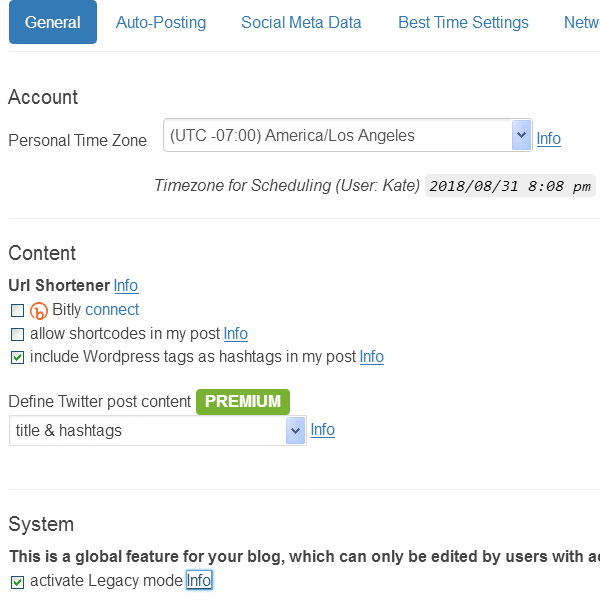
In the Left column under the Blog2Social heading, Click on “Settings” and:
- Configure your Time Zone.
- Connect or register for a Bitly account, if you want to use the URL shortner.
- Decide if you want to use Shortcodes.
- Decide if you want to include Wordpress Tags as #Hashtags.
- Activate Legacy mode so contents are loaded one at a time to reduce server load.
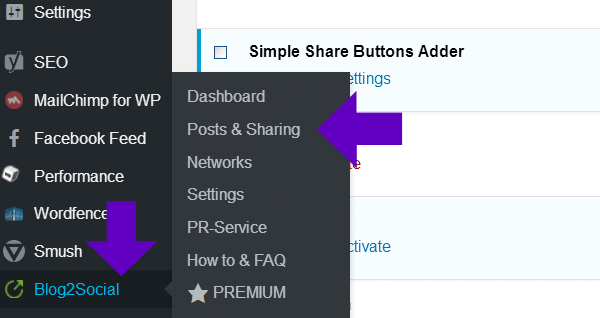
To begin sharing posts, locate Blog2Social in the lower area of the Left column. Click “Posts & Sharing”:
On the screen you’ll see a list of all your past Posts/Pages, and on the Right you’ll see green buttons labeled “Share on Social Media”:
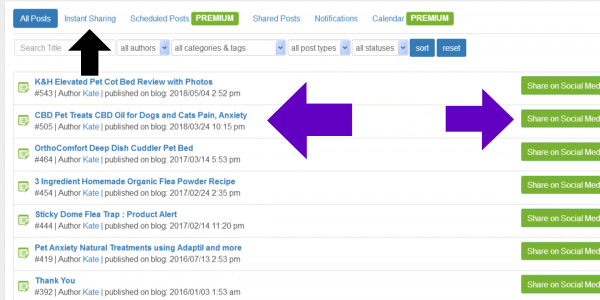
Decide which post you want to share to social media, and then Click the corresponding green button labeled “Share on Social Media”.
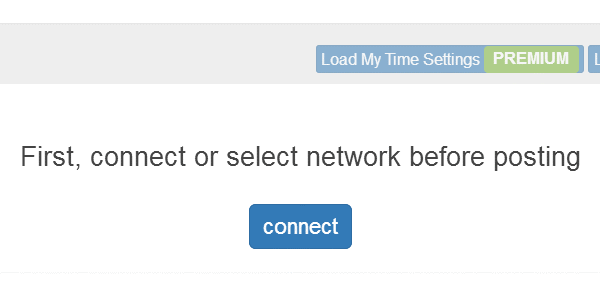
You’ll be taken to a screen asking you to connect or select network before posting.
Click on the blue “Connect” button:
A screen will display the social media Profiles you can connect to:
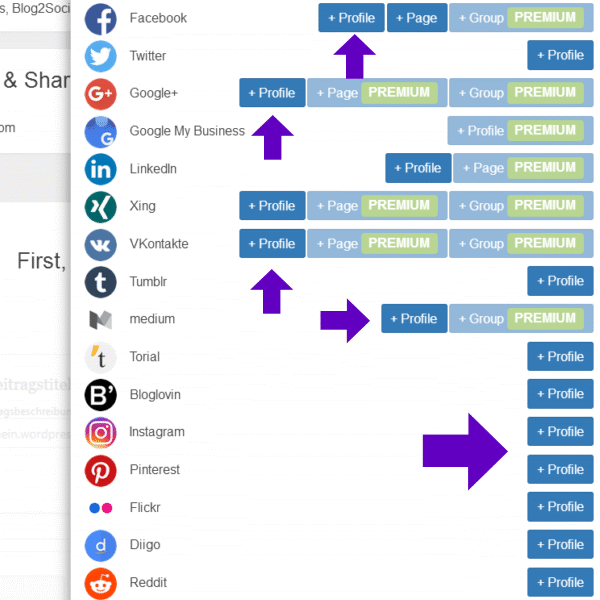
Click on the blue “Profile” button to connect your social media channels.
With each network, a window will display asking you to Authorize Blog2Social to access your account:
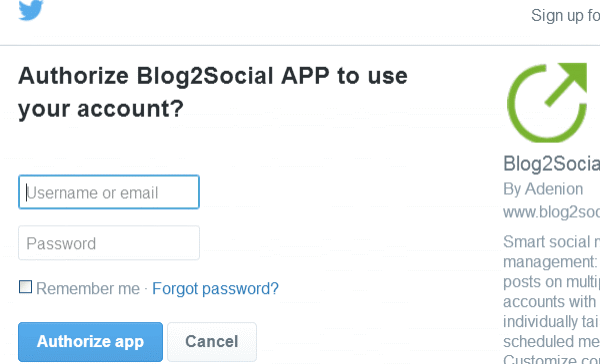
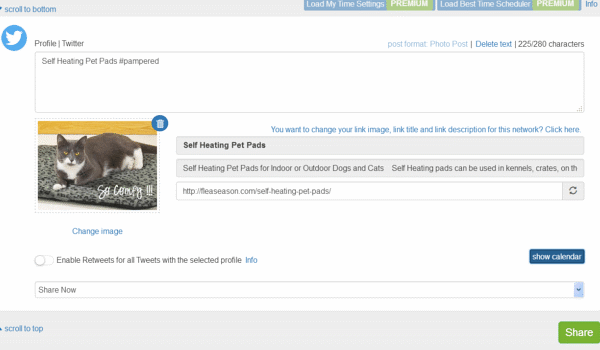
Upon connection to your social media network, the Post/Page you selected to share will appear on screen.
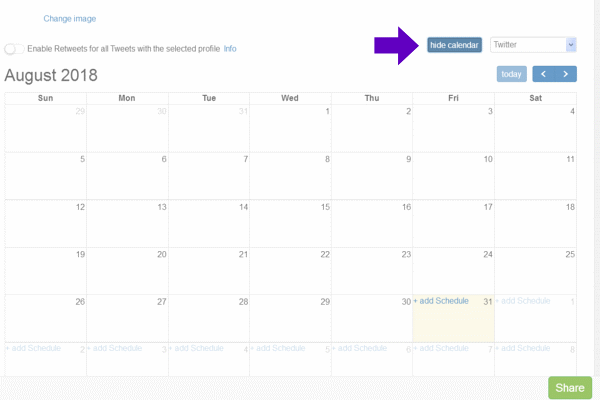
You have the option to change information before sharing. Change options include message content, add or change #Hashtags, image, title and description. You can also opt to turn re-tweets on or off:
If you Click on the “Show Calendar” blue button, a calendar will display for scheduling purposes:
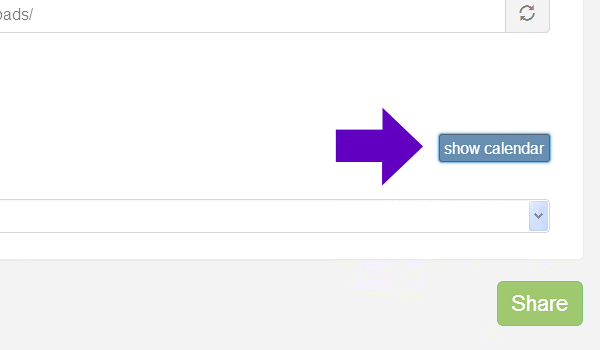
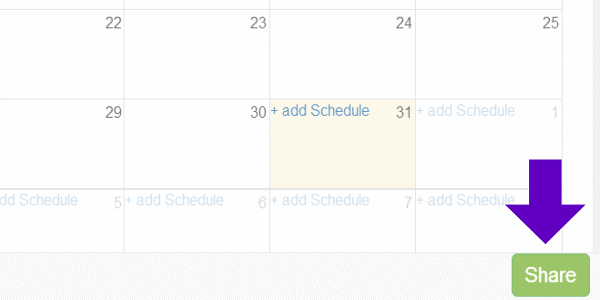
When you’re ready to share, Click on the green “Share” button:
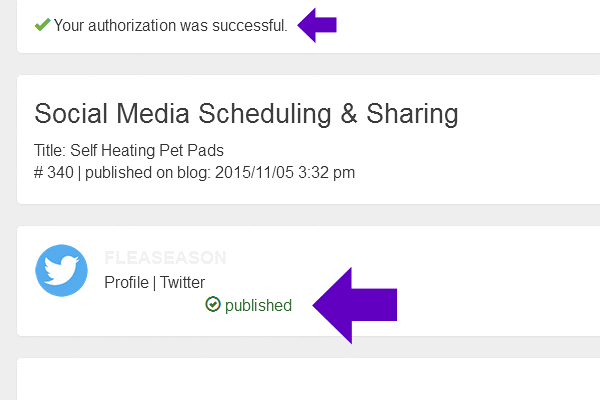
Once shared, the message will display telling you The authorization was successful, and the Post/Page was Published:
Blog2Social Learning and FAQ Resources:
General information and features:
https://blog2social.com/en/
How-To info, and free 30 day activation for Premium option:
https://blog2social.com/en/howto/
Guide with step-by-step tutorial:
https://www.blog2social.com/en/blog/smart-social-media-automation-step-by-step-guide-blog2social/
You can also look in the lower Left column and Click on “How to & FAQ”:
